

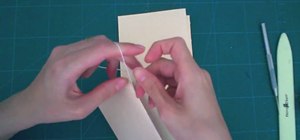
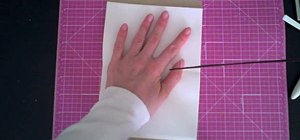
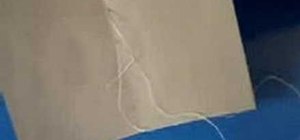
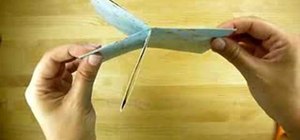
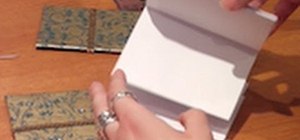
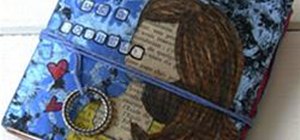
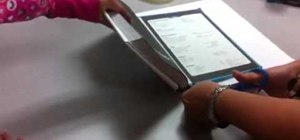
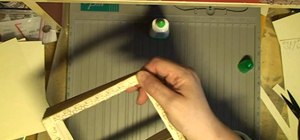
By watching this video, you will learn how to create your own art journal. Begin by cutting pieces of heavy weight cardstock 5" by 8". After you have cut all your sheets, fold them in half. If you want a defined crease, you can use a bone folder. Next, poke small holes in the crease of each sheet. Start at the center and then poke one every inch above and below the center hole. Then using a regular running stitch, sew through each hole of a single sheet. Once you reach the bottom hole, bring your needle back up through the top hole you started with. Tie the strings together into a knot. Don't cut your thread and begin the same process with the next sheet. Make sure to put the paper flush up against each other. When you come through the back of each sheet make sure to catch the thread of the previous sheet. Again when you reach the bottom hole, bring your needle back up through the top hole you started with, but you don't need to tie them together. Repeat this process until you get to the last sheet. While attaching the last page, make sure you attach is securely using a few knots. You can round the edges of the pages to give them an interesting look. Next, cut a piece of foam for the cover - 9" by 5.25". Using a generous amount of glue, attach the front and back pages to the foam cover. Now you have your very own art journal.
Just updated your iPhone? You'll find new emoji, enhanced security, podcast transcripts, Apple Cash virtual numbers, and other useful features. There are even new additions hidden within Safari. Find out what's new and changed on your iPhone with the iOS 17.4 update.


Be the First to Comment
Share Your Thoughts